Growing oyster mushrooms

This article took me quite a while to finish. Not because it needed a lot of research, but because it is a documentation of some homebrew science.
Background: Some weeks ago, I was house sitting and although it provided me with the comfort of a swimming pool; it required more efforts regarding food preparation. Long story short, I overlooked a package of oyster mushrooms in my fridge and they went slightly bad. I’m not a big fan of food waste and I also like growing mushrooms. So the only logical thing was to grow fresh oyster mushrooms out of the old ones. The good thing about oyster mushrooms is that they are relatively easy to grow. In this article, I aim to provide a basic understanding of growing mushrooms at home and also some more detailed information by providing instructional pictures.
Some theory: Fungi can’t do photosynthesis. They gain their energy by secreting enzymes and absorbing dissolved molecules from organic matter. Oyster mushrooms are champions in secreting enzymes. They can out-compete many other microorganisms or just use them as another energy source. Oyster mushrooms (Pleurotus ostreatus) belong to the nematophagous mushrooms, meaning that they can trap and eat nematodes. Similarly, they seem to be able to use bacteria as an energy source. For this one, I actually don’t have a reference, but it’s just something I’ve observed growing various kinds of edible mushrooms at home. The only other microorganism that seems to be a worthy opponent is the parasitic Trichoderma sp. What I want to say: Oyster mushrooms are the easiest mushrooms to grow at home and don’t require the use of a sterile work environment.
The basics: How did I grow new mushrooms from my half-rotten supermarket package of Oyster mushrooms? Well, mushrooms like carbon. And something that is very rich in carbon is cardboard. First, I placed pieces of the old oyster mushroom onto wet cardboard. The mycelium spread onto the cardboard and propagated there. Instead of sterilizing my equipment, I sanitized it by using boiling water. After the mycelium had spread on the cardboard, I introduced it into a new container and added spent coffee grounds as a nitrogen source. The spent coffee ground was sanitized by placing it in the microwave for a few minutes. Then, the containers are left alone inside a bag until the mycelium has spread completely inside the new container. Then fresh air is introduced. One of the main triggers of mushroom fruiting is a decrease of CO2 and an increase of O2. I achieved this by placing the containers with the bag in a cupboard next to my laundry door. Every time someone opens the door, a small wave of fresh air is blown to the containers. And eventually fruit pins form. From there it is helpful to introduce higher moisture content, for example, with a spray bottle. Then the fruits are ready to harvest.
Practicality: This method is using only cardboard and spent coffee grounds without a sterile environment. Although it works as a proof of concept, it is not the optimum environment for growing mushrooms. Oyster mushrooms can out-compete contaminants, but it reduces their yield. Also, other substrates are providing much higher yields. One commonly substrate is pasteurized straw that has been supplemented with some spent coffee grounds. This article is supposed to be more of a proof of concept. For higher yields, it is necessary to acquire better substrates and work in more sterile environments.
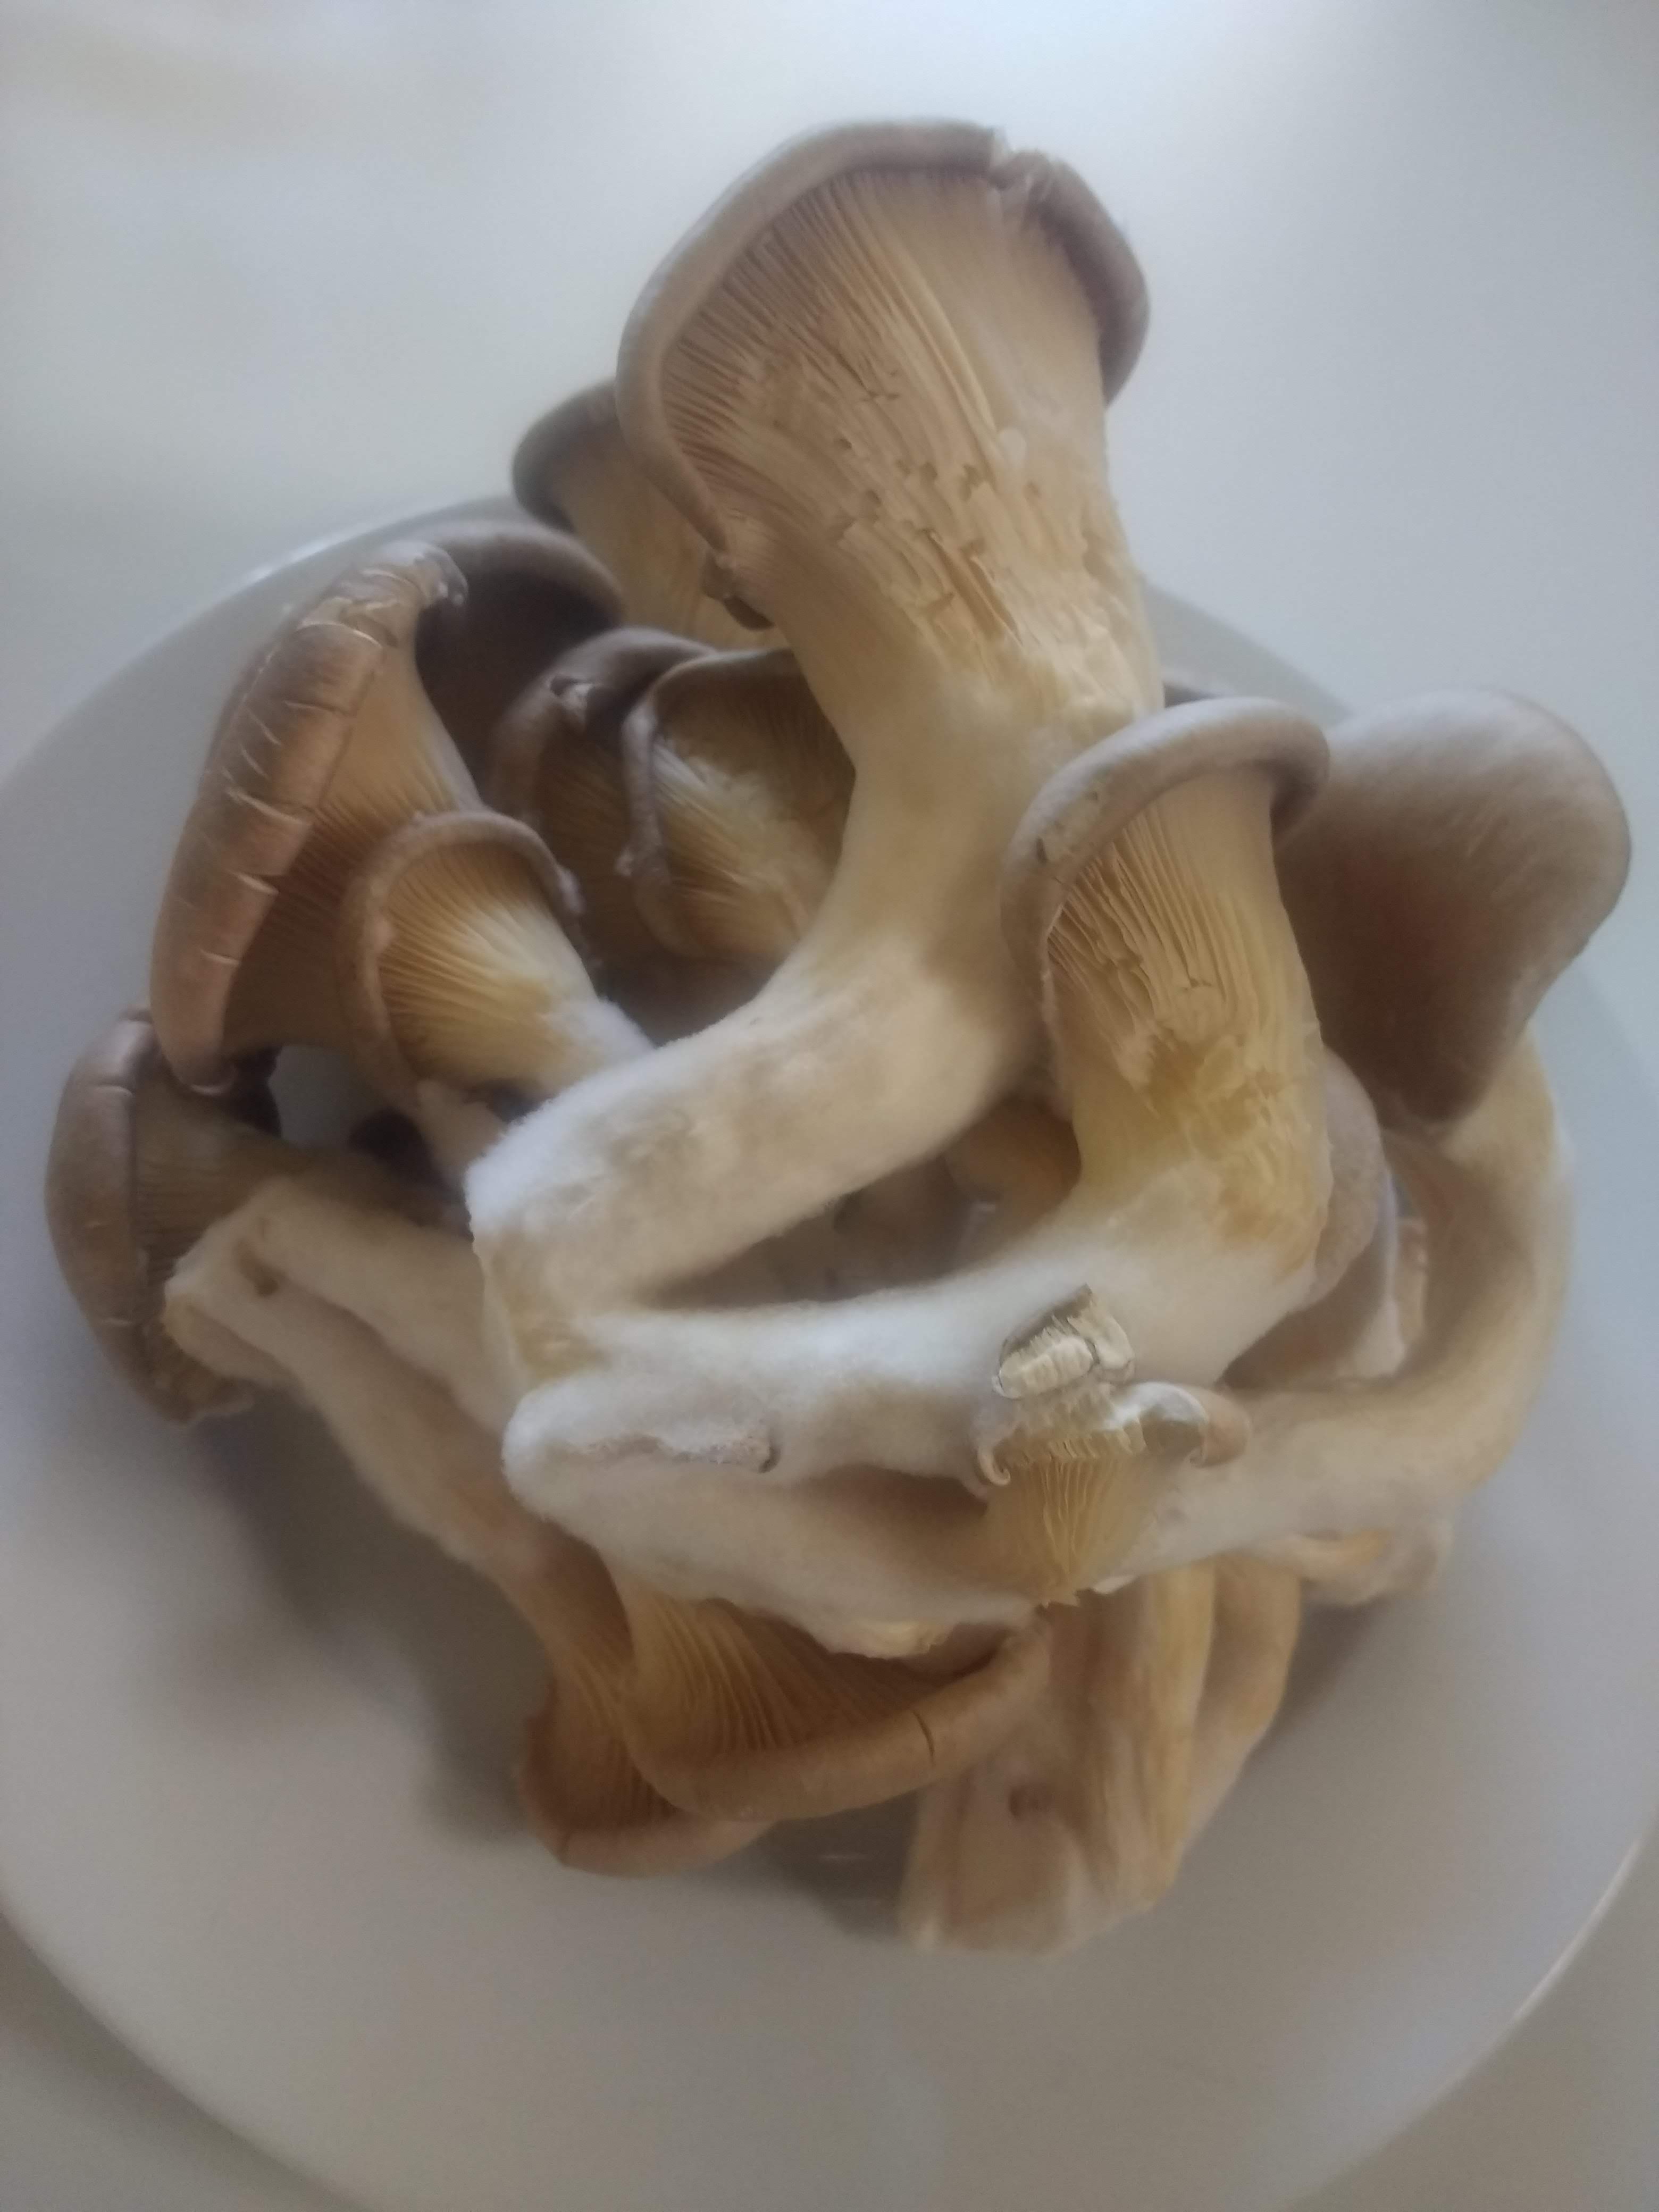
Our half-rotten oyster mushrooms. You can tell their expiration date by looking at the white mycelium fluff around their stem. At this stage, the mushroom is digesting itself and is not tasting good anymore.
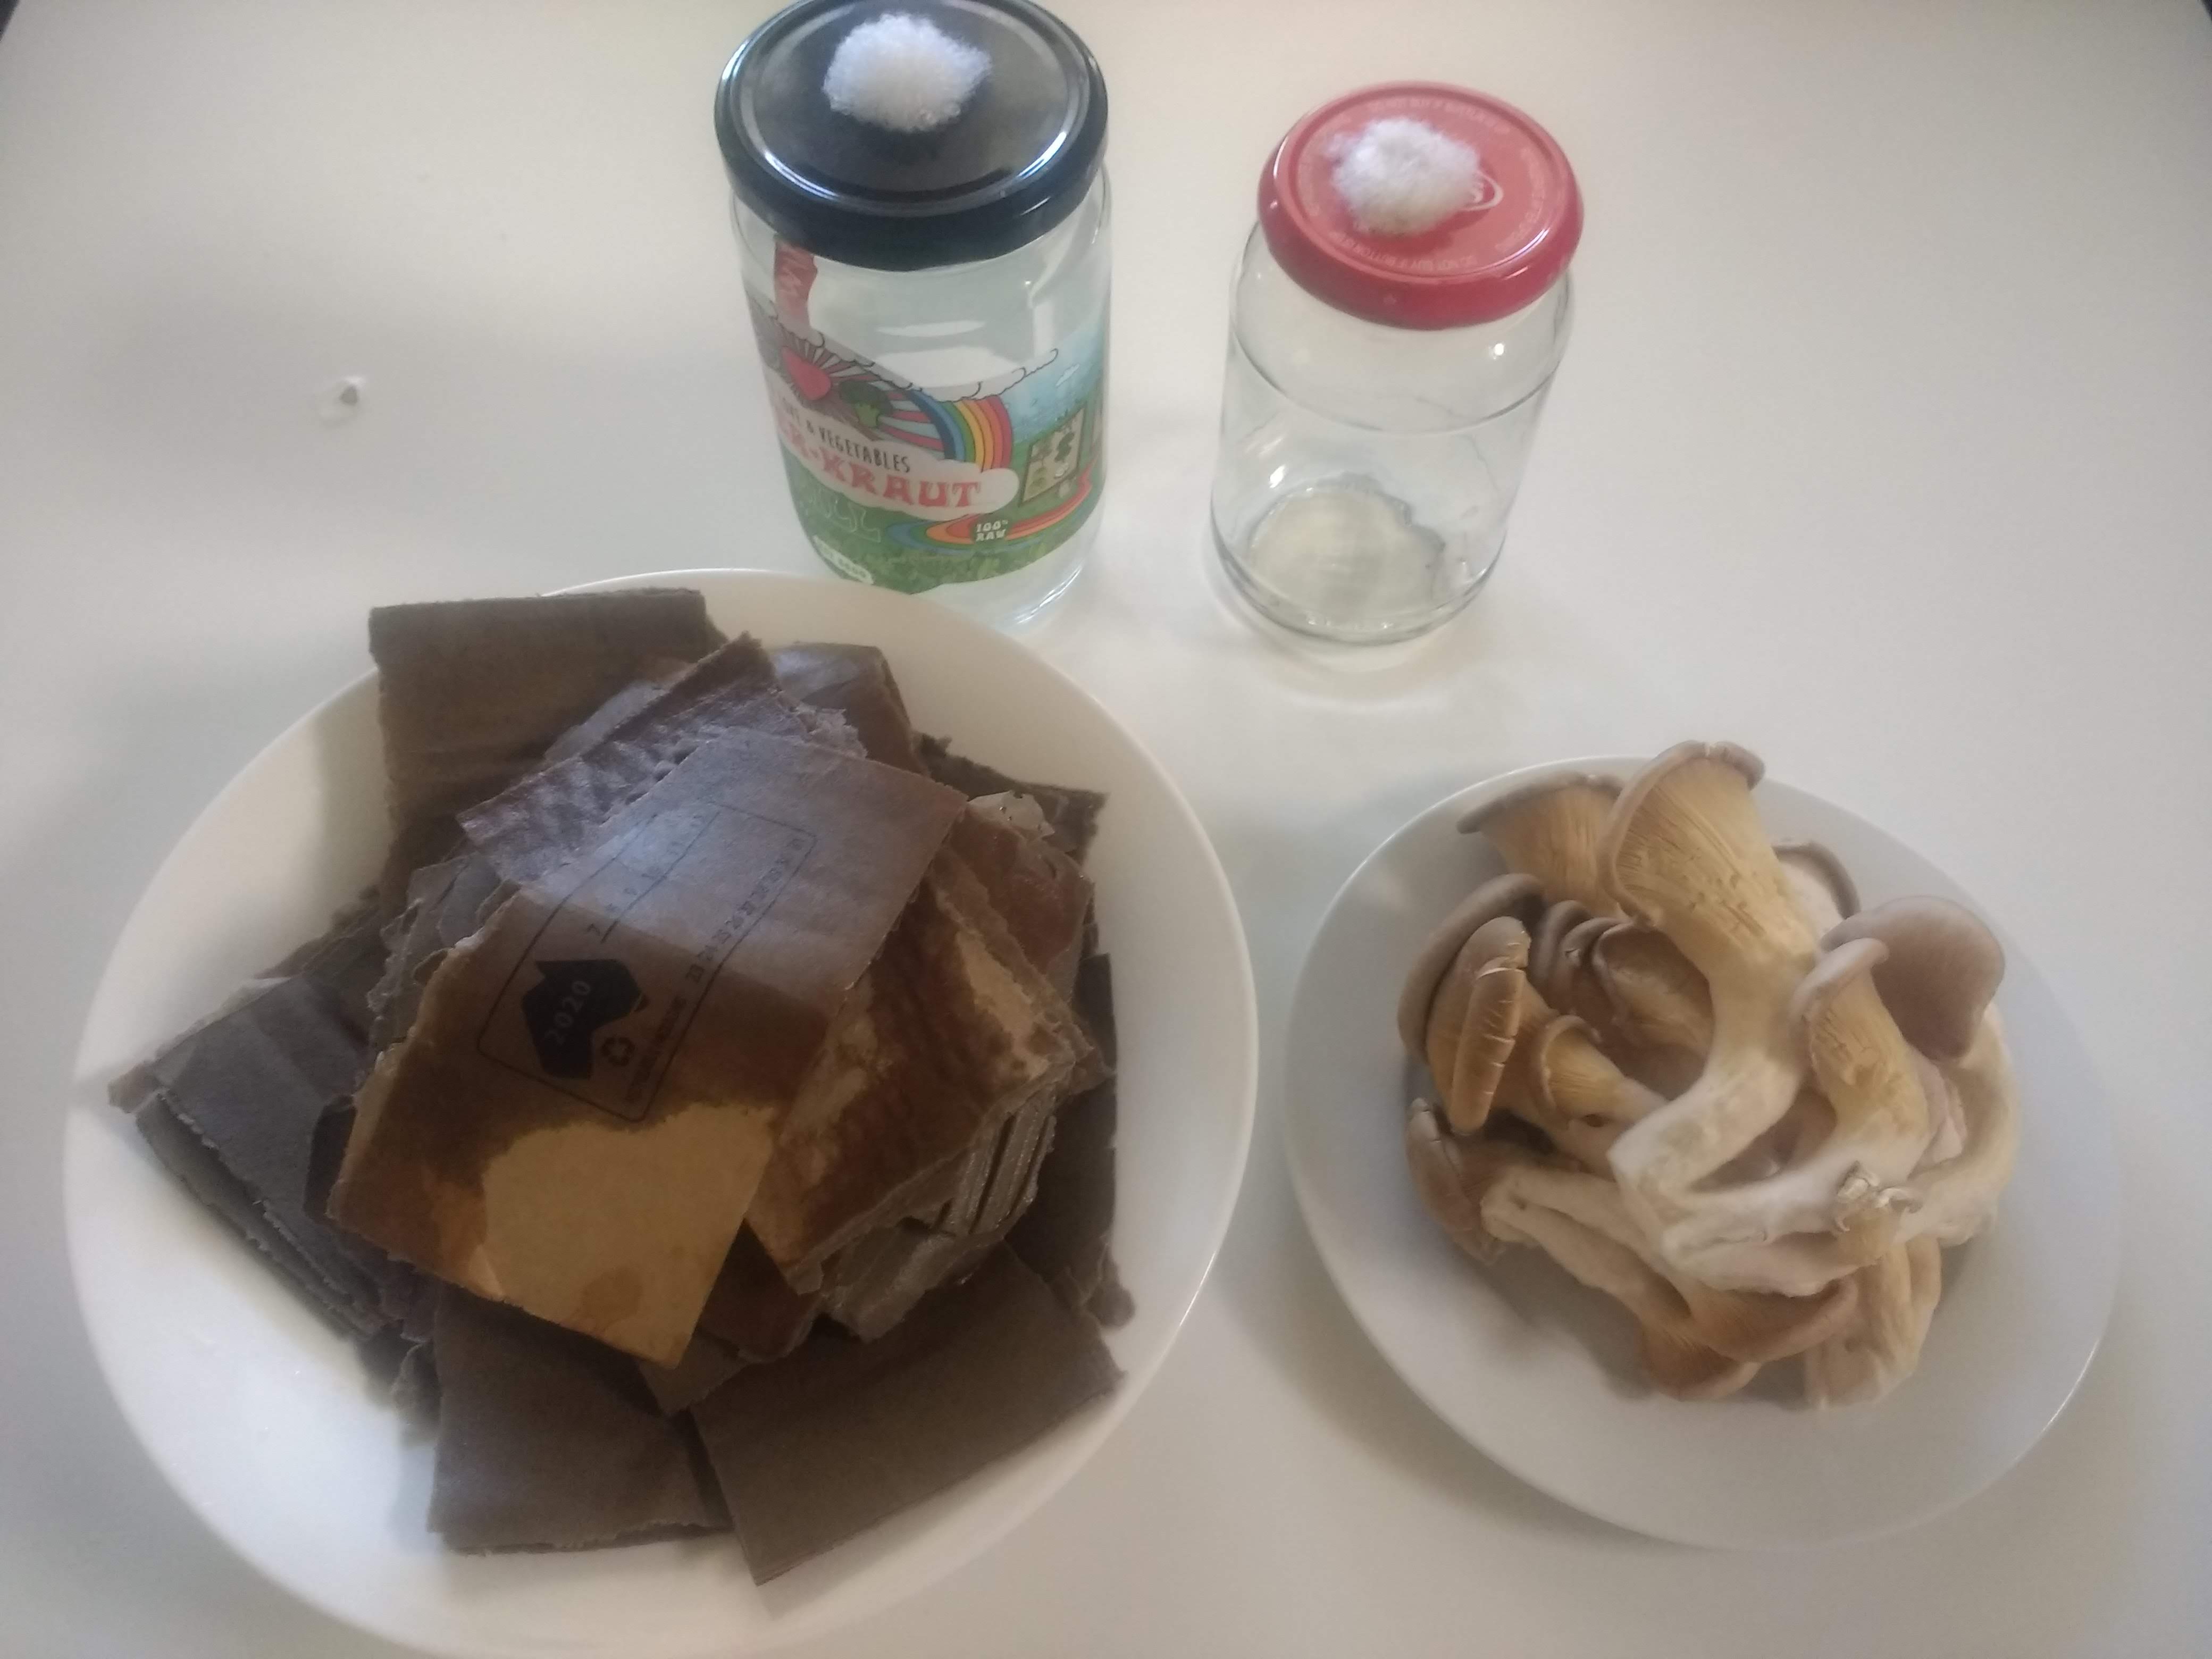
Our equipment: Jars with holes and cotton, wet cardboard and the mushrooms
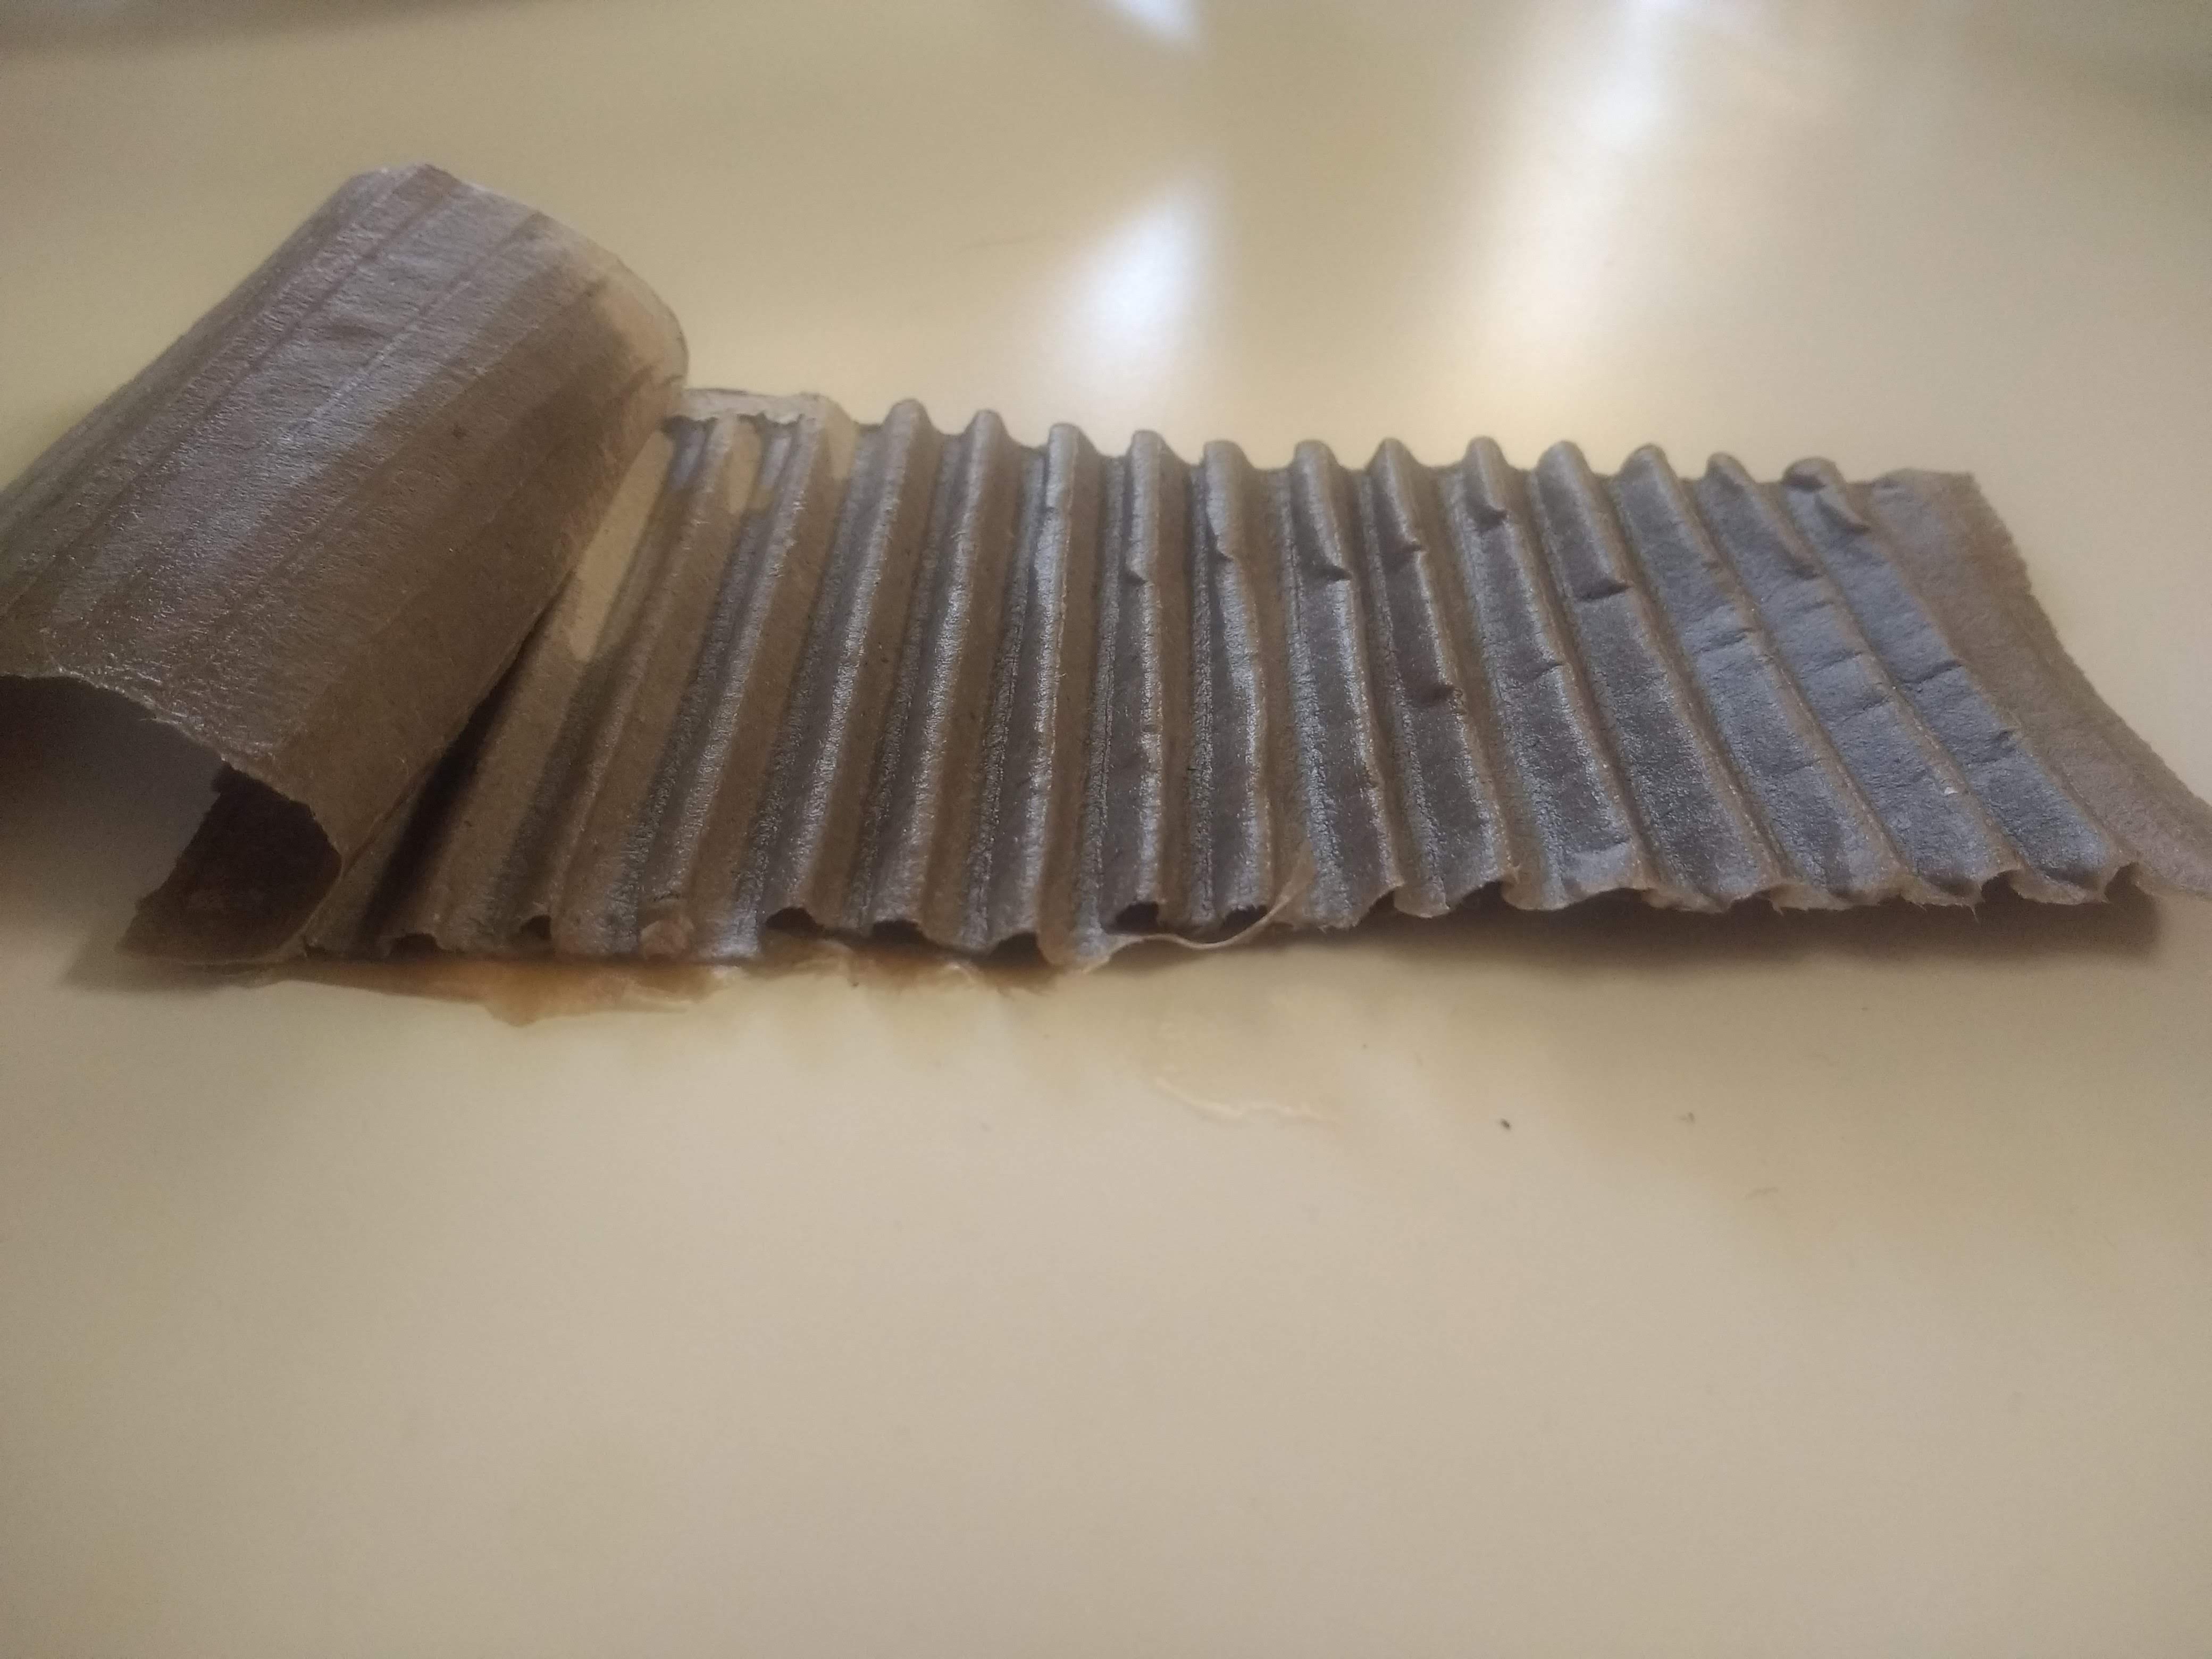
The cardboard is peeled and only the corrugated site is used. This structure provides the perfect environment for our mushrooms, as they are not drowned in moisture but also have access to air.

Mushrooms pieces are placed onto the cardboard.

The jars are filled with these cardboard pieces.

The mycelium colonizes the cardboard.
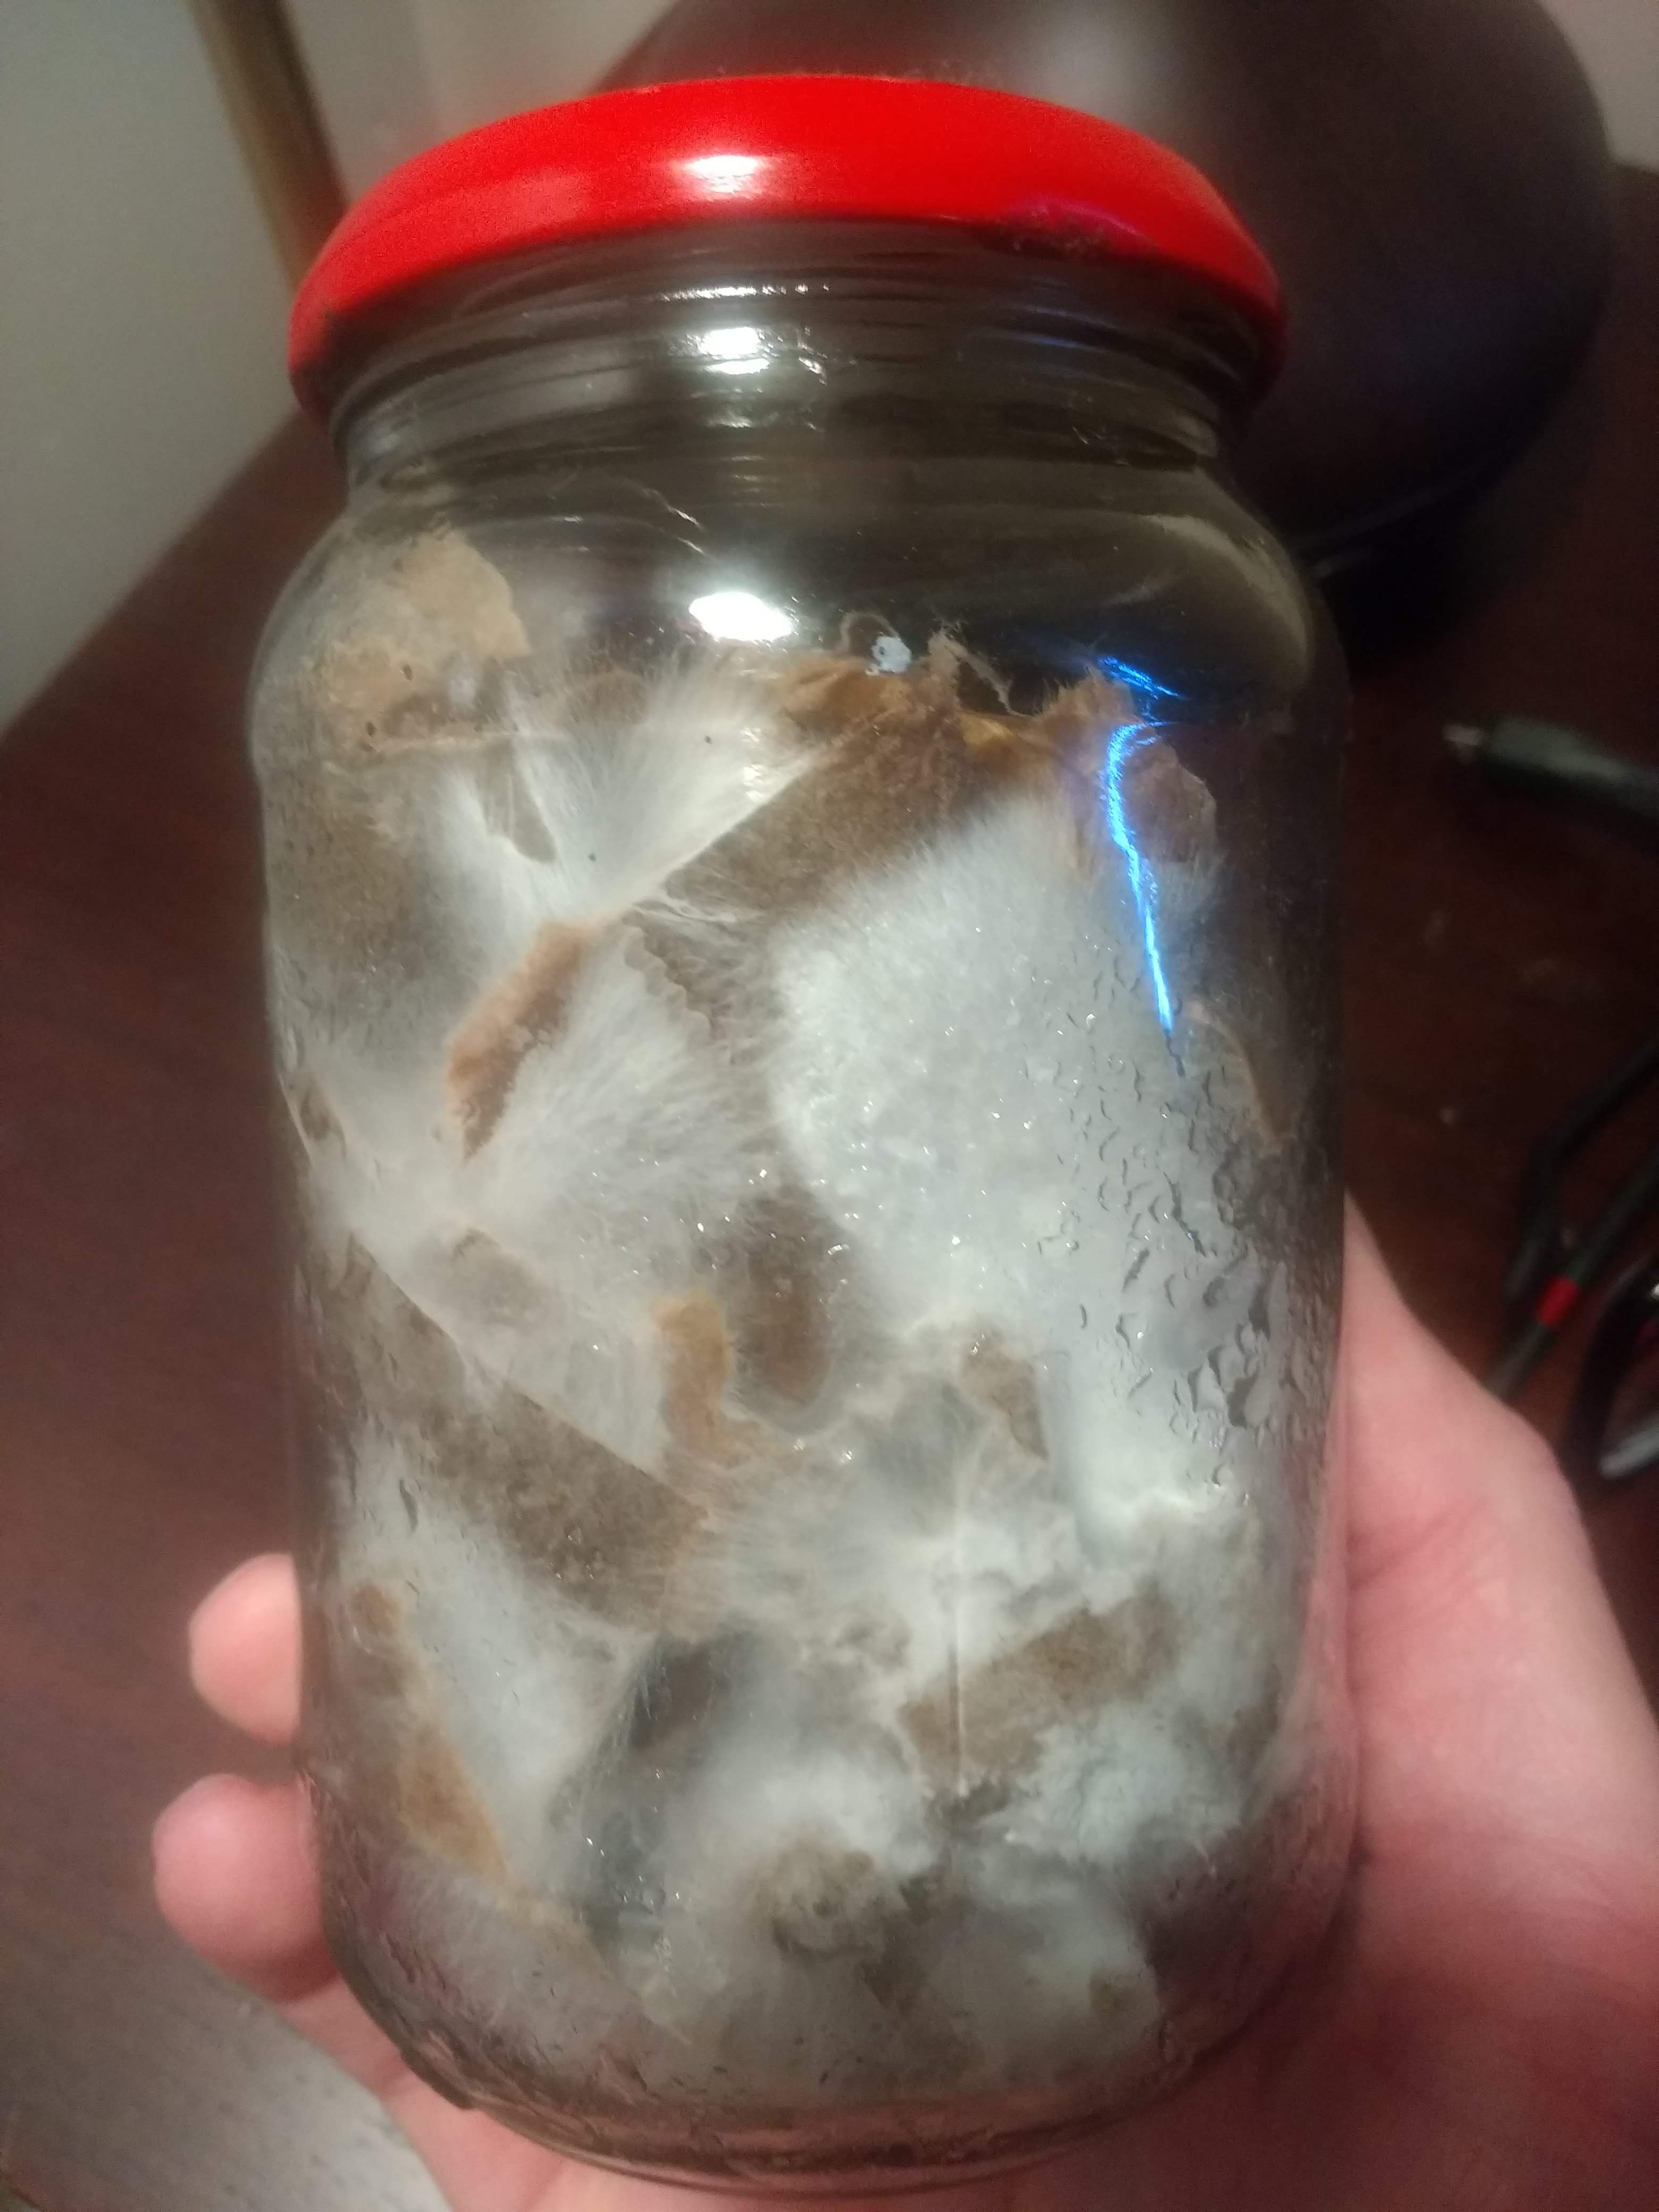
The mycelium finished colonization after about 3 weeks at room temperature.
Our equipment for the next step: Two new containers, more cardboard and spent coffee ground. The new containers have about 6 holes on the side through which the mushrooms start fruiting later on.

Spent coffee grounds after it has been microwaved for a few minutes.

Spent coffee ground is added onto fresh cardboard and “inoculated” with the colonized cardboard.
The containers are filled to the top and then wrapped into a plastic bag.
After 2 weeks, the containers are fully colonized. View from the side.
View from the top with the lid removed.

The containers are now moved next to a place where they can get fresh air. In this place next to a door. The current of the door movement replaces CO2 with O2 and triggers the fruiting.
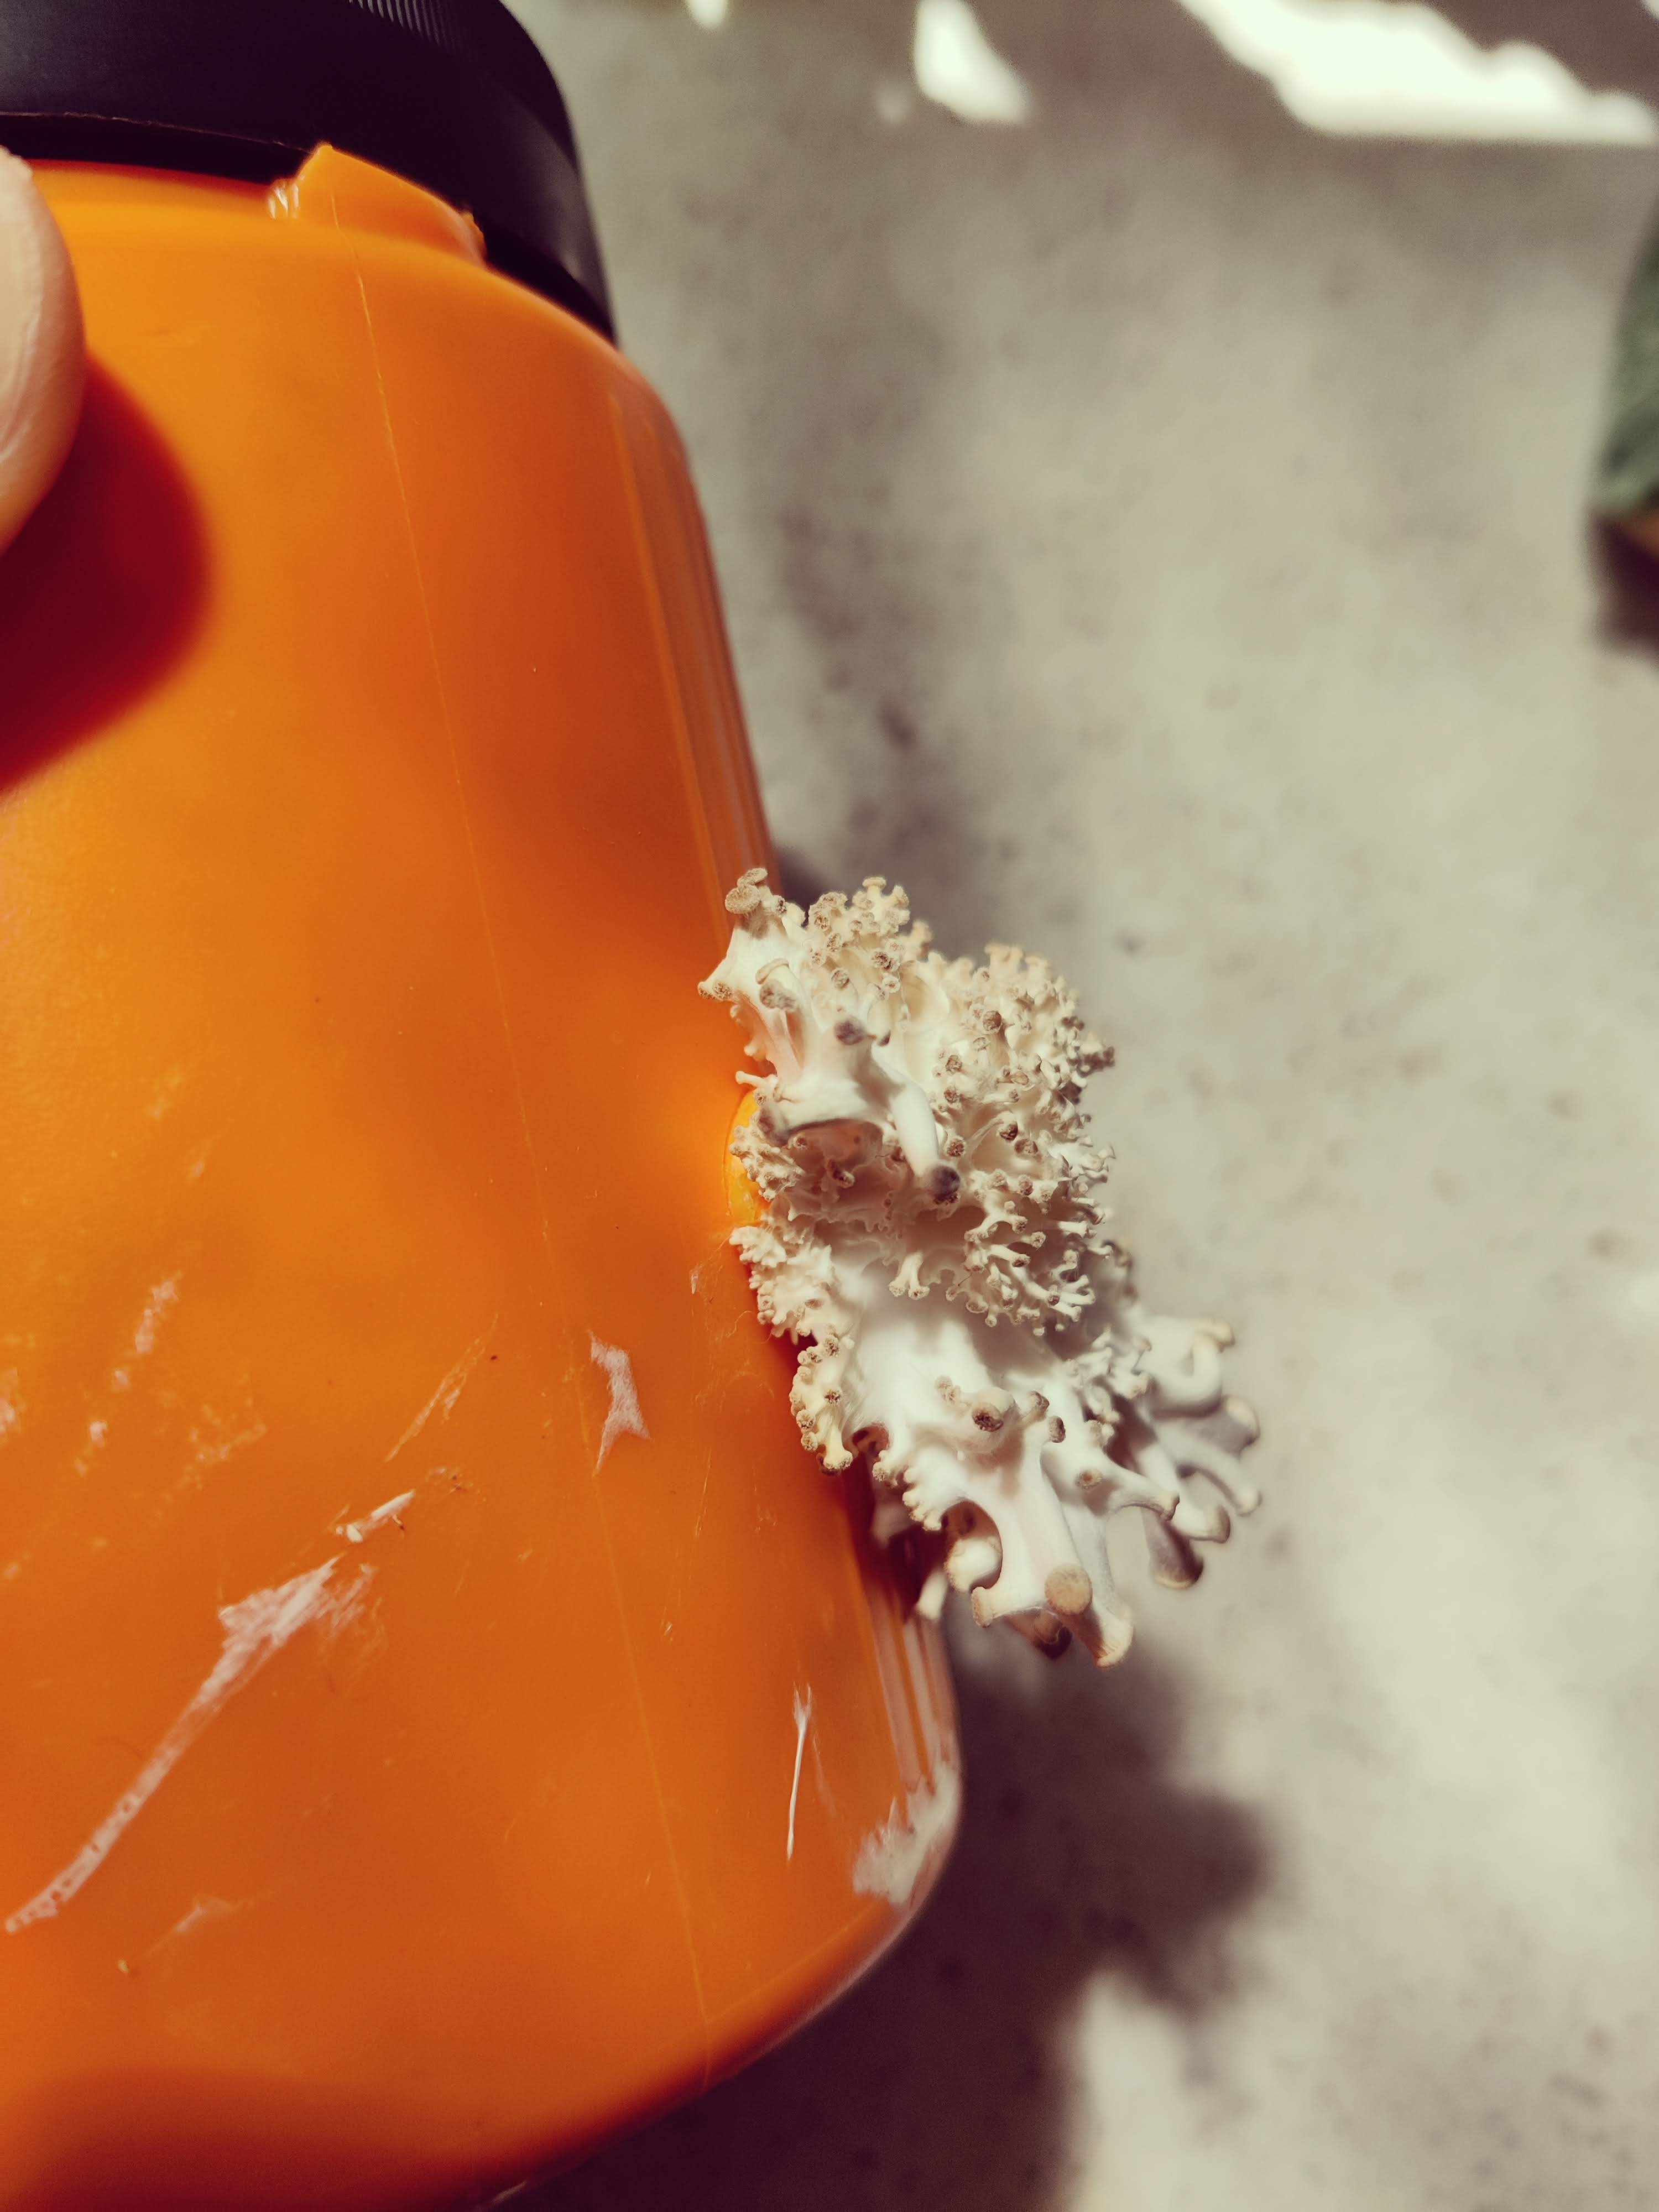
First pins formed through one of the holes.

Fruit bodies keep growing.

Fruit bodies growing.

For comparison: Oyster mushrooms fruiting out of a bag which was filled with pasteurized straw and spent coffee grounds. Bigger volume and better substrate lead to much hier yields.